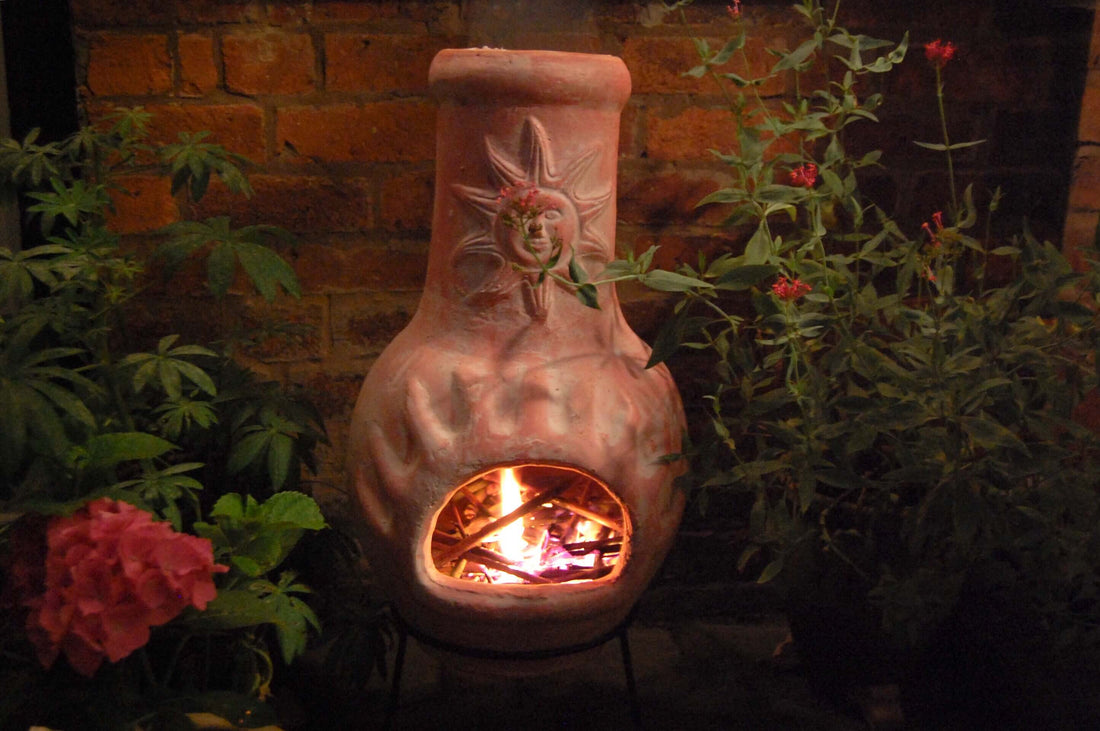
Lekto's 4-Step Clay Chiminea Care & Maintenance Guide
If you’ve been considering how to redecorate your garden in preparation for a sunnier spring and summertime, chances are you’ve already come across the classic clay chiminea. Hardy and beautiful, the understated clay chiminea effortlessly combines practicality with stunning aesthetic designs. The result is a unique garden feature that’s just as pleasing to look at as it is functional!
Before you go ahead and place your order, however, you should make sure you are fully familiar with the ins and outs of clay chiminea care.
While clay chimineas are generally considered easier to care for in terms of maintenance (at least when compared to the sturdier, heavier cast iron chimineas), it doesn’t mean that you should treat your clay chiminea like any other decorative garden feature. As we all know, whenever fire is involved, safety should be the utmost priority!
Clay chimineas are considered safer than traditional fire pits, as they contain the fire within a small chamber and require much less tending. However, there are several clay chiminea care tips and routine maintenance tricks you should familiarize yourself with before lighting your first fire.
So, here are our top 4 clay chiminea care tips to make your new wood-burning chiminea last longer and burn safer!
1. Choose The Right Wood Fuels
Not all wood fuels are created equal and not all wood fuels will be the right fit for your clay chiminea either! The right chiminea wood for clay appliances will contain a low moisture content, as moisture will damage your appliance over time by promoting dangerous cracking.
Choosing extra-dry wood for both indoor and outdoor burning is not only the best course of action for the safety and durability of your wood-burning chiminea, but it is also the best choice for protecting the environment from pollution.

So, what chiminea wood should you stock up on? Hardwood Heat Logs and Kiln Dried Firewood will ensure an efficient and safe burn throughout.
2. Cure First, Burn Later
Both cast iron chimineas and clay chimineas require curing before you can start burning your extra-dry firewood. Curing a chiminea essentially means preparing it to endure very high heat, and it is an essential step in clay chiminea care and safety, especially in cold temperatures.
You should start by filling the chiminea with sand up to approximately three-quarters of the mouth’s capacity, before lighting a small fire on top of it using kindling and a firelighter. Once the fire goes out naturally, you should let the appliance cool down, empty it of any ashes, and repeat the process up to five or six times.
When the curing stage is completed, your clay chiminea will be ready to endure high heat without cracking over time!
3. Keep An Eye Out For Cracks
We’ve been stressing that clay chimineas are fragile appliances prone to cracking.
You should always take precautions against this by keeping the chimineas interior lined with sand, avoiding charcoal or any high moisture firewood, and sealing the exterior to prevent environmental moisture from getting in.
Sealants allow clay to become waterproof, shielding your appliance from rain and moisture. You should seal your chiminea a minimum of twice a year or four times a year if used often.
If you do notice cracks, it’s crucial to assess the severity of the damage: Thin cracks will likely not cause any issues, while bigger cracks have to be taken care of immediately, especially if you tend to move your wood-burning chiminea around quite frequently!
You can avoid dangerous crumbling by cleaning the bigger cracks thoroughly and repairing the damage with automotive bonding glue, or better yet, consider investing in a new one.
4. Clean Thoroughly
Finally, you should make sure you are cleaning your chiminea regularly as instructed by the manufacturer.
As a general rule of thumb, you’ll want to remove all the sand, pea gravel, or rocks lining the bottom of your clay chiminea, clean all residual ash thoroughly, clean the grill and interior, and rinse the gravel with water.
Once your gravel and rocks are completely dry, you can put them back into your chiminea, replace the sand, and get the fire started once more!

Enjoy Your Clay Chiminea For Many Years To Come!
Optimal clay chiminea care is mostly a matter of common sense, plus a little bit of research.
By following these key steps and ensuring your chiminea is set up correctly and the fire put out properly, you can ensure that your clay chiminea will still be as beautiful and efficient for many years to come – especially if you have high-quality chiminea wood to power you through!
